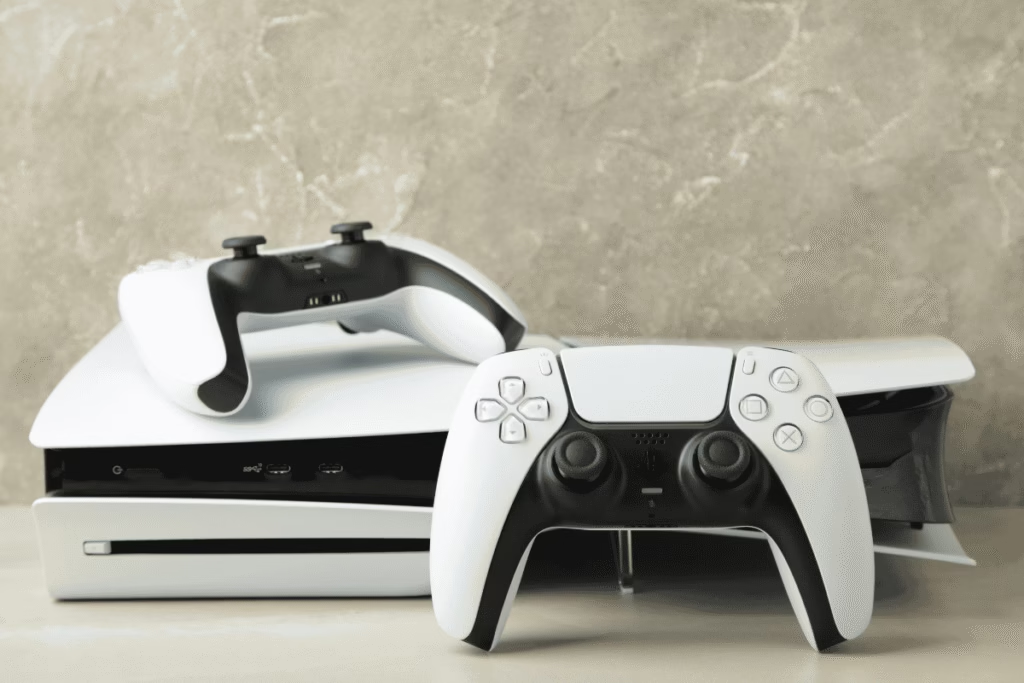
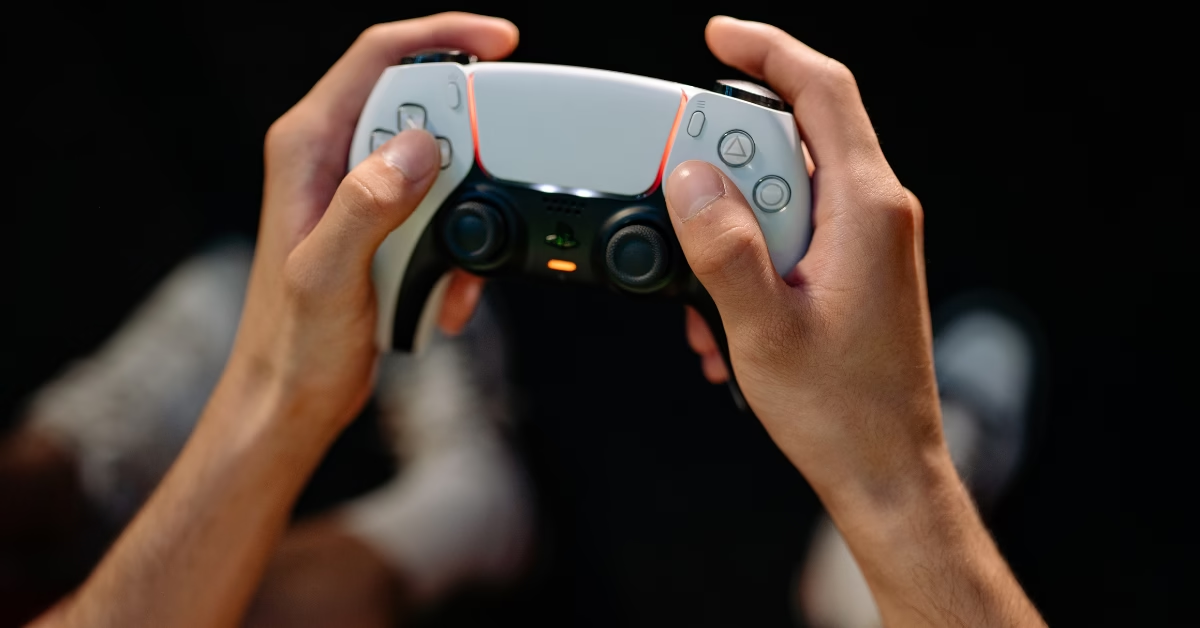
There’s nothing quite like settling in for a long gaming session on your PlayStation 5, only to have your character mysteriously wander off on their own, or your camera slowly pan to the sky. If you’ve experienced this phantom movement, you’re likely dealing with something called “stick drift” on your DualSense controller. It’s incredibly frustrating, pulling you right out of the immersive worlds you love. But don’t despair! You’re not alone, and often, this isn’t a death sentence for your beloved controller. Let’s walk through some practical, human-friendly steps to try and banish that pesky drift.
Understanding Stick Drift: Why It Happens
How to Fix Stick Drift PS5 : Before we dive into the fixes, it helps to understand what stick drift actually is. Inside your controller’s joysticks are tiny components called potentiometers. These measure the position of the stick. Over time, dust, dirt, grime, and even tiny bits of plastic wear from the joystick itself can accumulate inside these mechanisms. This interference can cause the controller to register movement even when the stick is at rest, leading to the dreaded drift. It’s usually a wear-and-tear issue, not necessarily a sign that you’re rough on your gear.

1. The Simplest Fix: Clean Around the Stick Base
How to Fix Stick Drift PS5 : Often, stick drift is caused by visible or invisible gunk around the base of the joystick. This is the easiest and least intrusive fix to try first. Think of it as giving your controller a little spa treatment.
What You’ll Need:
- Compressed air: This is your best friend for blowing out dust. Make sure it’s the kind specifically for electronics, and always hold the can upright to prevent propellant from spraying out.
- A clean, dry microfiber cloth: For wiping away any loosened debris.
- Rubbing alcohol (IPA – Isopropyl Alcohol 90% or higher): This evaporates quickly and leaves no residue. A Q-tip or cotton swab will be helpful.
How to Do It:
- Turn off your PS5 and disconnect your controller. We don’t want any accidental inputs or power issues.
- Inspect the base of the problematic joystick. Look for any visible dust bunnies, crumbs, or general grime.
- Use compressed air: Hold the can upright and direct short bursts of air around the entire circumference of the joystick’s base. Wiggle the stick around as you spray to help dislodge anything trapped inside. Don’t spray for too long in one spot; short bursts are key.
- Alcohol and swab (optional but recommended): Dampen a Q-tip or a corner of your microfiber cloth with rubbing alcohol. Gently wipe around the base of the joystick, especially in any crevices. You might be surprised at the gunk that comes off. Wiggle the stick as you wipe.
- Let it dry completely: Give the alcohol a minute or two to evaporate before reconnecting your controller.
- Test it out: Fire up your PS5 and jump into a game or the PS5 system settings (Settings > Accessories > Controller > Calibration) to see if the drift is gone. Sometimes, this simple step is all it takes!
ALSO READ : SOS Only on iPhone How to Fix
2. Reset Your DualSense Controller: A Software Reset
Just like rebooting your phone can fix quirky apps, a simple controller reset can sometimes clear up software glitches that might be misinterpreting joystick input. This won’t erase any saved games or personal data on your PS5.
What You’ll Need:
- A straightened paper clip or a SIM ejector tool.
How to Do It:
- Turn off your PS5.
- Locate the reset button: On the back of your DualSense controller, near the L2 button, there’s a tiny, almost invisible hole. That’s your reset button.
- Insert the tool: Gently insert the paper clip or SIM ejector tool into the hole. You should feel a tiny click.
- Hold for 5 seconds: Press and hold the button for about 5 seconds.
- Release and reconnect: Remove the tool, then reconnect your DualSense controller to your PS5 using a USB-C cable.
- Press the PS button: Once connected, press the PS button to pair the controller with your console again.
- Test for drift: See if the reset has resolved the issue.
3. Update Your Controller Firmware: The Digital Tune-Up
Sony regularly releases updates for the DualSense controller firmware. These updates can include bug fixes and performance improvements that might address underlying issues contributing to stick drift. It’s always a good idea to keep everything updated.
How to Update Firmware:
- Connect your DualSense controller to your PS5 using a USB-C cable. Make sure your PS5 is connected to the internet.
- Go to Settings: On your PS5 home screen, navigate to the Settings icon (the cogwheel) in the top right.
- Select Accessories > Controllers (General).
- Choose “Wireless Controller Device Software.”
- Follow the on-screen prompts. Your PS5 will check for available updates and guide you through the installation process if one is found.
- Restart your PS5 after the update is complete, then test your controller.
4. Adjust In-Game Dead Zones (If Available)
Some games, particularly first-person shooters, offer a “dead zone” setting in their options. A dead zone is a small area around the center of the joystick where input isn’t registered. Increasing the dead zone can effectively mask minor stick drift. While this isn’t a fix for the controller itself, it can make a game playable again if the drift is subtle.
How to Check:
- Launch the game where you’re experiencing drift.
- Go to the game’s settings menu (often under “Controls,” “Gameplay,” or “Accessibility”).
- Look for options like “Dead Zone,” “Input Threshold,” or “Stick Sensitivity.”
- Experiment: Gradually increase the dead zone setting (if available) until the drift stops. Be aware that a larger dead zone can make your controls feel slightly less responsive, so it’s a trade-off.
When to Consider Repair or Replacement
If you’ve diligently tried all the steps above and your stick drift persists, it’s possible that the internal components of your joystick are worn out beyond what simple cleaning or software resets can address. At this point, you have a few options:
- Contact PlayStation Support: If your PS5 and DualSense controller are still under warranty, Sony may repair or replace your controller free of charge. Check your purchase date and warranty terms. This is often the best route for newer controllers.
- Professional Repair: There are independent electronics repair shops that specialize in console controllers. This might be a cost-effective option if your controller is out of warranty but you’d prefer not to buy a new one.
- DIY Repair (Advanced): If you’re tech-savvy and comfortable with small electronics, you can find replacement joystick modules online and attempt the repair yourself. Be warned: this requires soldering, specific tools, and carries the risk of further damaging your controller if not done correctly. Proceed with extreme caution and at your own risk. There are many detailed video guides online if you choose this path.
- Purchase a New DualSense Controller: Sometimes, after exhausting all troubleshooting steps, buying a new controller is the most straightforward solution, especially with the ongoing improvements and new color options available.
Dealing with stick drift can be frustrating, but armed with these tips, you have a solid chance of getting your DualSense controller back to perfect working order. Don’t let a wandering character ruin your gaming experience!
Thanks for reading and sharing! If you have any further questions or need more assistance, feel free to reach out to me at blogxstory@gmail.com.

