
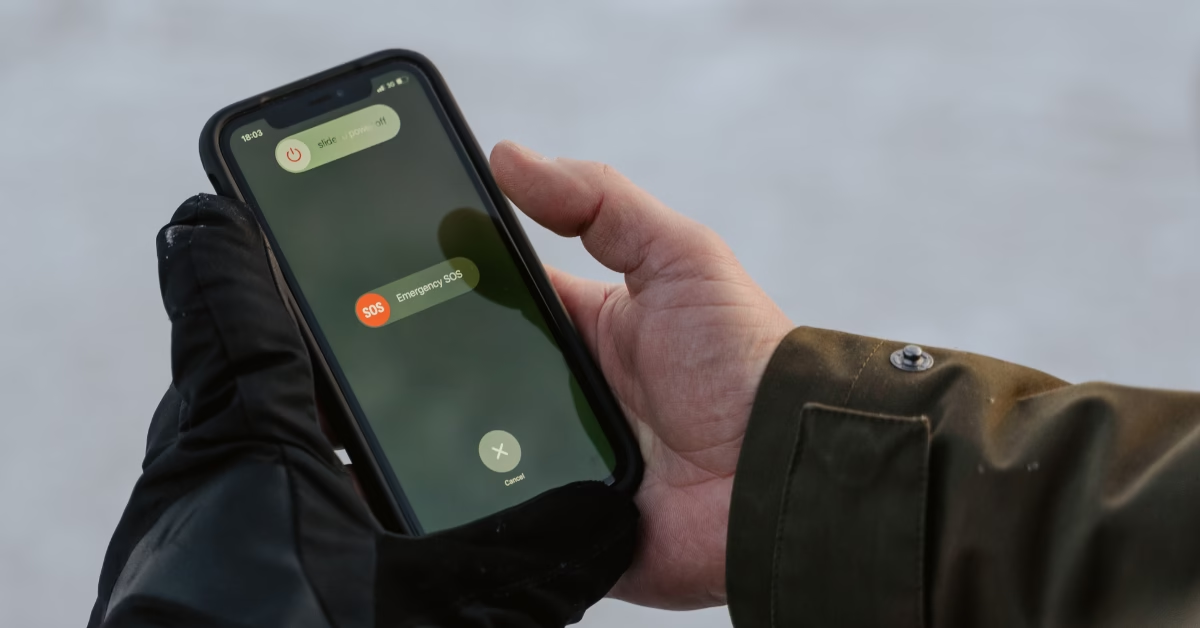
When your iPhone displays “SOS Only” in the status bar, it means your device isn’t connected to your usual cellular network but can still make emergency calls. This can happen for a few reasons – sometimes it’s a genuine lack of signal, and other times, it’s a little hiccup in your phone’s connection. Here’s how to troubleshoot it.
1. The Classic Reboot: A Force Restart for All iPhones
SOS Only on iPhone How to Fix : Often, the simplest solutions are the most effective. A force restart can clear out any temporary software glitches that might be causing your iPhone to get stuck in SOS mode. It’s like giving your phone a good, refreshing nap.
How to Force Restart Your iPhone (All Models):
- For iPhone 8 or later (including iPhone SE 2nd and 3rd gen, iPhone X, XR, XS, 11, 12, 13, 14, 15, and future models):
- Quickly press and release the Volume Up button.
- Quickly press and release the Volume Down button.
- Then, press and hold the Side button (the one on the right) until you see the Apple logo appear. This might take a few seconds, so be patient. Once the Apple logo appears, you can release the button.
- For iPhone 7 or 7 Plus:
- Press and hold both the Volume Down button and the Sleep/Wake (Side) button at the same time.
- Keep holding them until you see the Apple logo.
- For iPhone 6s or older (including original iPhone SE, iPhone 6, 6 Plus, 5s, etc.):
- Press and hold both the Home button and the Sleep/Wake (Side or Top) button at the same time.
- Keep holding them until you see the Apple logo.
After your iPhone restarts, check if the “SOS Only” message is gone.

2. The Airplane Mode Refresh: Resetting Network Connections
Sometimes, your iPhone just needs a little nudge to reconnect to your cellular network. Toggling Airplane Mode on and off can act as a quick reset for your phone’s wireless radios.
How to Toggle Airplane Mode (All iPhones):
- Open Control Center:
- On iPhones with Face ID (iPhone X and later), swipe down from the top-right corner of the screen.
- On iPhones with a Home button, swipe up from the bottom of the screen.
- Tap the Airplane icon: It will turn orange to indicate that Airplane Mode is on.
- Wait for about 15-20 seconds.
- Tap the Airplane icon again to turn it off. It will turn white/grey.
Give your iPhone a moment to try and reconnect to the network.
3. SIM Card Check-Up: A Physical Connection
Your SIM card is your iPhone’s direct link to your cellular carrier. If it’s not seated properly, or if it’s a bit dusty, it can cause connection issues. (Note: For iPhone 14 and later models purchased in the U.S. that are eSIM-only, this step won’t apply directly. You’d focus on eSIM settings in step 6 or contacting your carrier in step 7.)
How to Reinsert Your SIM Card (for iPhones with Physical SIM):
- Turn off your iPhone. This is a good practice before fiddling with the SIM card.
- Locate the SIM tray: It’s usually on the right side of your iPhone.
- Use a SIM ejector tool (the little paperclip-like tool that came with your iPhone) or a straightened paperclip. Insert it into the small hole next to the SIM tray.
- Gently push until the tray pops out.
- Carefully remove your SIM card.
- Inspect the SIM card for any visible damage or dirt. You can gently wipe it with a clean, dry, lint-free cloth if it looks dusty.
- Reinsert the SIM card into the tray, ensuring it’s aligned correctly.
- Push the tray back into your iPhone until it’s flush.
- Turn your iPhone back on.
After this, your iPhone should attempt to re-establish a connection with your carrier.
4. Software & Carrier Settings Updates: The Digital Tune-Up
Outdated software or carrier settings can sometimes lead to connectivity problems. Keeping everything up-to-date ensures your iPhone is running with the latest improvements and bug fixes.
How to Check for Software Updates (All iPhones):
- Go to Settings > General > Software Update.
- If an update is available, tap Download and Install. Make sure you’re connected to Wi-Fi for this.
How to Check for Carrier Settings Updates (All iPhones):
- Go to Settings > General > About.
- If a carrier settings update is available, a pop-up will appear, asking if you want to update. Tap Update if prompted. This usually happens in the background, so you might not even see a notification unless there’s a new one.
5. Reset Network Settings: A Clean Slate for Connectivity
This step is a bit more drastic than the previous ones, but it can be very effective if the “SOS Only” issue is rooted in corrupted network settings. It will reset all your Wi-Fi networks and passwords, cellular settings, and VPN settings, so be sure to have your Wi-Fi passwords handy!
How to Reset Network Settings (All iPhones):
- Go to Settings > General > Transfer or Reset iPhone > Reset.
- Select Reset Network Settings.
- You’ll be asked to enter your passcode.
- Confirm the reset.
Your iPhone will restart after this. Once it’s back on, you’ll need to reconnect to your Wi-Fi networks. See if your cellular service has returned.
6. Check Cellular Data Settings (Especially for Dual SIM/eSIM)
Sometimes, the cellular line might be inadvertently turned off or configured incorrectly, especially if you’re using Dual SIM or eSIM.
How to Check Cellular Data Settings (All iPhones):
- Go to Settings > Cellular (or Mobile Data).
- Ensure Cellular Data is toggled ON.
- If you have Dual SIM/eSIM, tap on each cellular line listed and ensure it’s turned on.
- You can also try going to Cellular Data Options and ensuring Enable LTE is turned on (or 5G Auto/On, depending on your model and plan).
- For international travel, make sure Data Roaming is enabled if applicable to your plan.
7. Contact Your Carrier: When All Else Fails (or Before You Start!)
Sometimes, the issue isn’t with your iPhone at all, but with your cellular service itself. There might be a network outage in your area, or an issue with your account.
What to Discuss with Your Carrier:
- Check for outages: Ask if there are any known network issues in your location.
- Account status: Verify that your account is active and in good standing.
- Data plan: Confirm your data plan is correctly provisioned for your device.
- SIM card replacement: If you suspect your SIM card is faulty (for physical SIMs), they can often provide a new one.
- eSIM re-provisioning: If you use an eSIM, they can help you re-download or re-provision your eSIM profile.
When to Seek Professional Help
If you’ve tried all these steps and your iPhone is still stuck in “SOS Only” mode, it might be a deeper hardware issue. In such cases, it’s best to:
- Contact Apple Support: They can run diagnostics and offer further assistance.
- Visit an Apple Store or authorized service provider: They have the tools and expertise to properly diagnose and repair your iPhone.
Remember, your iPhone is a powerful tool, and most “SOS Only” issues are fixable with a little patience and troubleshooting. You’ve got this!
ALSO READ : How Did Helen Keller Die?
Thanks for reading and sharing! If you have any further questions or need more assistance, feel free to reach out to me at blogxstory@gmail.com.
2 thoughts on “SOS Only on iPhone How to Fix”
Comments are closed.